A Step-by-step Guide to Using Clay Paste To Resist Indigo Dye

What is Clay Paste Resist?
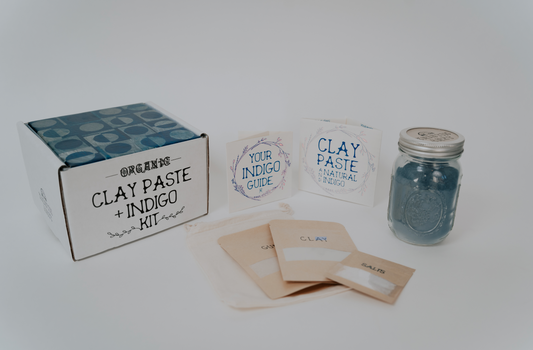
There are many different variations of this resist technique used around the world, varying to combine flour, starch, soy, and more. This clay paste resist guide covers a "123" recipe developed by botanist and chemist Michel Garcia. "123" refers to the ingredients by weight: 1 part Magnesium Sulfate, 2 parts Gum Arabic, and 3 parts Clay. This recipe can be found in Catharine Ellis and Joy Boutrup's book "The Art and Science of Natural Dyes."
How Does Clay Paste Resist Work?
The clay acts as a filler, gum Arabic helps the paste stick to the fiber and makes the paste smooth, and magnesium sulfate is a chemical agent that repels the indigo dye. If the indigo comes in contact with the magnesium sulfate and tries to penetrate the paste, it loses its water solubility. You can purchase the ingredients in bulk or work with a pre-measured kit.
This method only works with indigo dye. The clay will break down in other natural dye baths. It will break down in mordant dye baths because they are more acidic than alkaline indigo vats, and they are also often heated to extract the pigment. The clay paste will also break down in heated dye baths.

Tools to Make Clay Paste Resist
You can easily work with equipment in your kitchen to mix your clay paste resist. Unlike other natural dye processes, the clay paste ingredients are not harmful to use in both your kitchen and dye studio.
To Mix Clay Paste, You Will Need:
- Access to water and a way to make it warm (tea kettle, stovetop, etc)
- Whisk, electric mixer, OR immersion blender
- Large mixing bowl
- Sealable 16-32 ounce container (Mason or glass jar, Tupperware, etc)
- Warm water for mixing clay paste
- Gram scale
- 10 grams Magnesium Sulfate
- 20 grams Gum Arabic
- 30 grams Bentonite Clay
- 100 grams warm water

A Step-by-step Guide to Mixing Clay Paste
Step 1
Dissolve the Magnesium Sulfate in warm water.
Step 2
Add the Gum Arabic. Use an electric mixer, immersion blender, or mix by hand and allow to sit for about 30 minutes to ensure it is completely dissolved.
Step 3
Add the Clay to your mixture and mix it in well. Continue mixing until the clay expands and the paste becomes milky in appearance. The paste should be the texture of syrup. Additional clay can be added if the paste application requires a thicker consistency.
A Few Tips for Mixing Clay Paste Resist
- Start with less water if you plan to screen print or block print with the clay paste. If you are working with 10 grams of Magnesium Sulfate, try just dissolving in 60 grams of water, rather than 100 grams of water.
- If your paste is too watery, add more clay or leave the lid off your container of clay paste for a few hours. The water will evaporate from the paste and it should thicken up relatively quickly.
- This guide follows the recipe based on 10 grams of Magnesium Sulfate, but you can always size up the recipe if you want to mix more clay paste.

How to Apply Clay Paste to Fabric
Apply the clay resist to dry (natural fiber) fabric using a paintbrush, stamp, block screenprint, or another mark-making tool. Let the clay paste dry completely. This can take anywhere from 2 hours to overnight, depending on how thick your paste is and how dense your fabric is. Once your paste is fully dry, it should feel like paper and you should be able to scratch it with your fingernails.
Tips to Speed Up the Drying Process
- Use a hairdryer
- Place your fabric inside of a food dehydrator
- If you have access, use a flash dryer
Dyeing with Clay in Your Indigo Vat
Step 1
Apply your clay paste using your chosen method. Let it dry completely.Step 2
Slowly lower your DRY fabric into the vat. Keep it submerged below the dye for about five minutes. Be gentle when working with your fiber in the vat. You will not want to squeeze or rub your wet fiber, as you can risk weakening the clay paste. Carefully remove the fiber from your vat and let it drop into a drip bucket or lay it flat on the ground.Step 3A
If you want darker blues, you can allow your fabric and clay to dry completely, and then dip in the indigo again. You can also apply a second, third, etc. layer of clay paste in between dips to create a stronger resist. Always let the clay fully dry in between dips.Step 3B
You can create different values on your cloth by letting your clay dry completely, then applying more clay, and letting it dry before dyeing it again.Step 4
Let your piece oxidize in the air for 15 minutes. When it is fully oxidized, your piece will appear totally blue. Let your clay and fabric dry completely before dyeing it again.Tips for Indigo Dyeing with Clay Paste
- Do not wet out your fabric before dyeing. Water will dissolve the clay paste, making it a weaker resist. You can strategically spray water or soak certain parts of your fabric in water, carefully working around the resisted area.
- Pay attention to the integrity of the clay paste after you take your fabric out of the vat. Depending on the thickness of your clay, you may want to add additional layers in between dye dips.
- Do not dye your clay paste textile in a hot vat. This can break down the clay. Ideally, your vat will be at most 75 degrees Fahrenheit.
- Be gentle when dyeing in the vat and sure to not add unnecessary oxygen. Excessive dripping and splashing will weaken your indigo vat.
- Try to avoid letting the fabric fall to the bottom of your vat, where the sediment is. If you stir up too much sediment, you will have to let your vat rest for about 20 minutes before dyeing in it again. If you dye in a “cloudy” vat, your results will be murky.

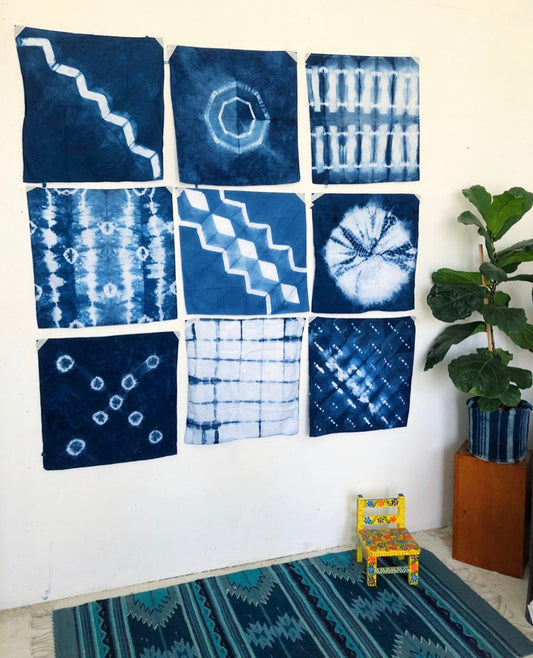
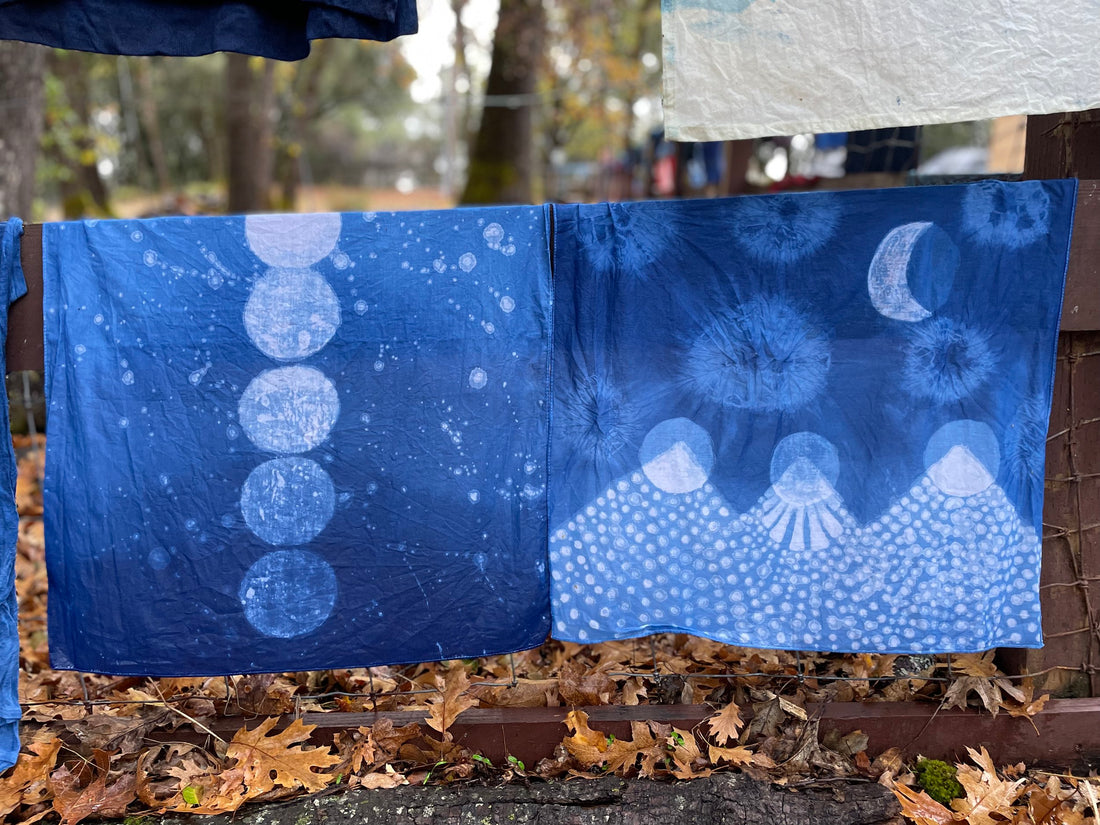
Pieces by clay resist student Heidi Helling of Wolf + Rove
Washing Out Clay Paste
Once you have finished dyeing your fabric, rinse out the clay in water. A lot of clay can clog your drain. Do an initial rinse of your clay in a bucket with warm water and dispose of it outside, then rinse your fabric in a sink. Or, if you have outdoor access, you can rinse the clay in your garden with a hose- the magnesium will feed your plants!
Washing Indigo Dyed Fabric
Rinse the fabric under running water until the water runs clear. Fill a plastic bucket with enough room temperature water that the fabric can flow freely. Add a half cup of white vinegar to the water, and mix in your dyed items. Let this sit for about 20 minutes, stirring occasionally.
Then, wash your dyed items on their own in a washing machine using a gentle, pH-neutral soap. Olive oil soap, unscented Dawn dish soap, Seventh Generation dish soap, Free & Clear soap are all pH neutral options.
If you notice that your dyed fabric is crocking, or rubbing off, try a few wash cycles with olive oil soap. The fat in the soap absorbs the excess indigo pigment and should prevent future crocking. Keep your naturally dyed fabrics out of direct sunlight.
Clay Paste Resist FAQs
Can you use any type of indigo vat with clay resist?
You can use most types of indigo vats for this method – fructose, iron, and thiox vats all work well. The only vat that has less promising results is a lye-reduced indigo vat.
Does this method work with other natural dyes?
Clay paste resist only works with indigo dye.
What types of fibers does this method work with?
Any natural fibers will work, from silk to cotton canvas. We highly recommend going to a thrift store to find natural fiber clothing to dye!
Can you use soil from your yard as clay paste?
Yes, you can use the dirt from your yard, especially if you have clay-rich soil. Head to the wild clay guide to learn how to mix clay paste using your own soil.