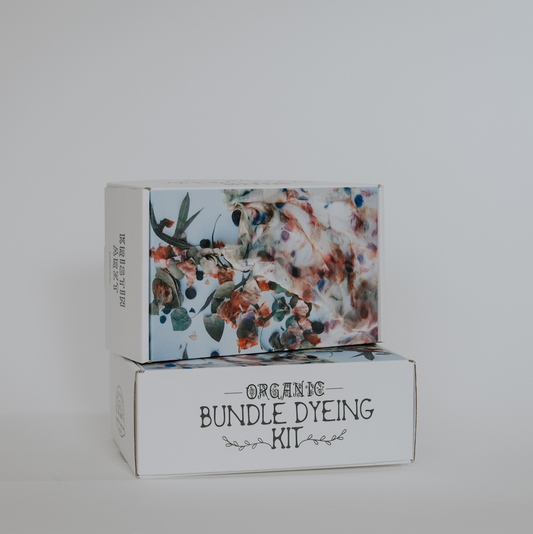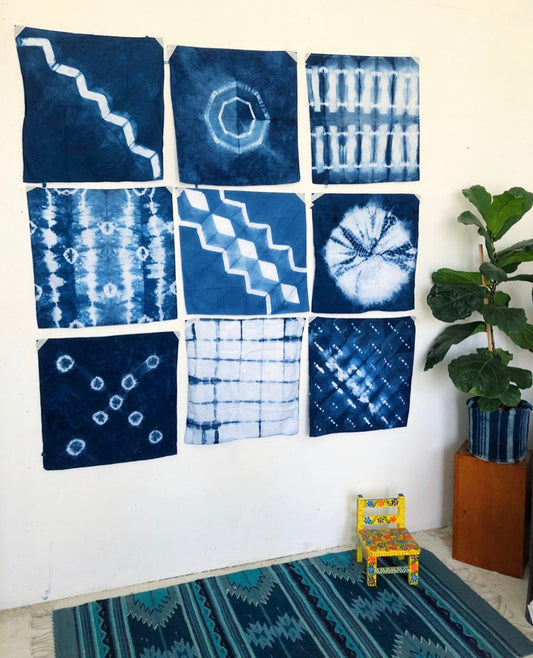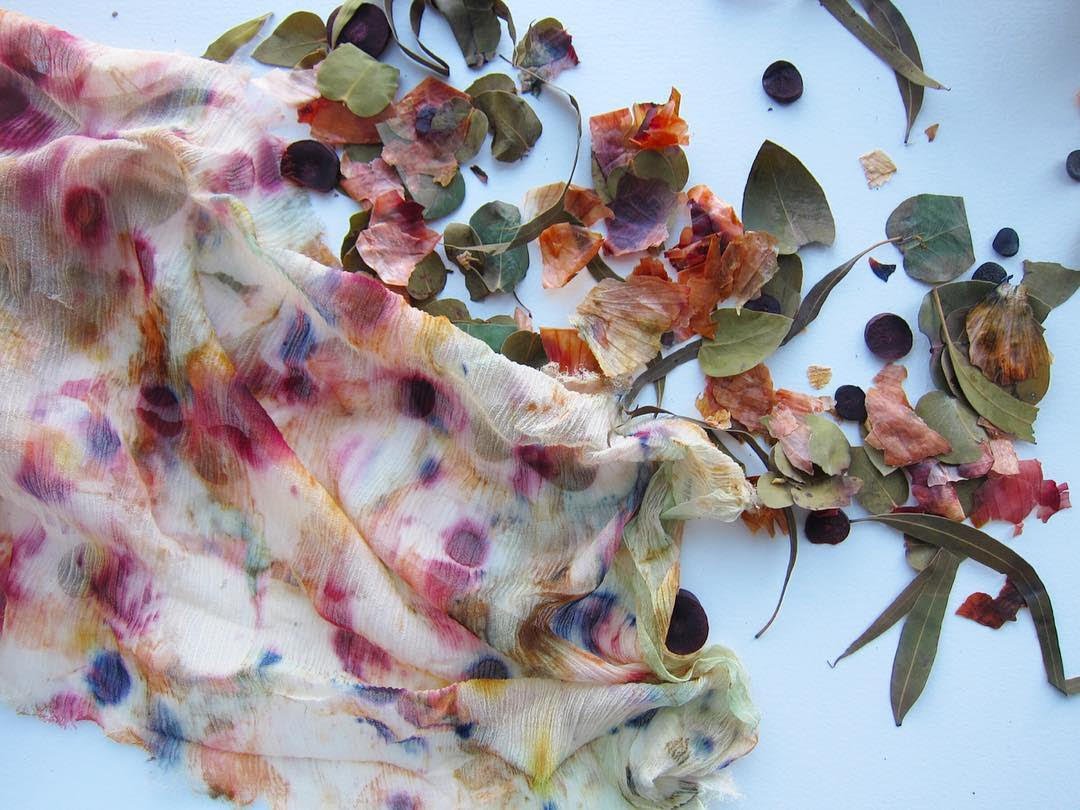
What is Bundle Dyeing?
Bundle dyeing techniques are fun, simple and sustainable. They are water-efficient natural dye practices, and you can start with things you already have in your kitchen or garden. Many of our common, everyday food scraps are a great source of beautiful color, like onion skins and turmeric. Depending on the season, you can forage greenery from your backyard or neighborhood such as fallen leaves and flowers. Once you try these techniques, you’ll never look at plants the same way again. We will work with natural fibers.
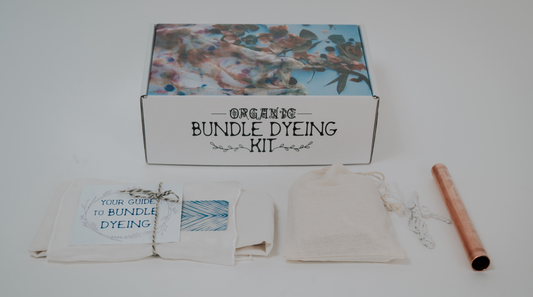
Materials and Tools
- Any natural fiber items you want to dye. Pre-wash, mordant, and cut as desired.
- A variety of dye materials: Leaves and flowers from your garden, food scraps-onion skins, etc. See the next page for suggested dye stuffs.
- Heat source: Stove or hot plate
- Dye pot, steamer, and tongs, designated just for your natural dye projects
- Twine
- Scissors
- A mallet or hammer, and an old magazine or book
- Gram scale

Plants and Foods You Can Bundle Dye With
Flowers:
- Red or pink geranium flowers
- Violets
- Nasturtium flowers
- Poppy flowers- California, Red, etc.
- Bougainvillea flowers
- Japanese maple leaves
- Roses - whole plant: petals, leaves, etc
- Dahlia flowers
- Camelia flowers
- Oxalis flowers
- Coreopsis- whole plant: flowers, leaves, stems, etc
Food:
- Tomato leaves
- Fresh fennel
- Purple carrots
- Onion skins- yellow and red
- Turmeric powder or root
- Berries- raspberries, blueberries, blackberries
- Used coffee grounds
- Beets
- Red cabbage
- Lemons/oranges
Misc:
- Logwood
- Cochineal
- Rusty objects- nails, screws, pipe, etc.
- Baking soda
- White vinegar

Bundle Dyeing and Eco-Printing Steps
1. Pre-mordant your fabric using the method of your choice- you can use aluminum acetate for cellulose, potassium aluminum sulfate for protein (metal salts). Mordants are the bridge that bonds pigments to fiber.
2. Lay out your wet fabric and place your dye materials on the fabric. You can place your plants along one half of the fabric, and then fold it over on itself to have a mirror image, or you do not need to fold it over.
3. If eco-printing, place the pipe or stick on one end of your folded fabric and begin rolling the fabric tightly around it. If bundle dyeing, simply wrap the fabric onto itself into a "spring roll."
4. Wrap twine around your fabric bundle from one end to the other. Secure ends of twine with double knots.
5. Steam your fabric bundle for a minimum of 25 minutes, or up to 2 hours in the steamer. Some plants (mainly flowers) are sensitive to high heat.
6. Once your bundle has steamed, turn off the heat and allow to cool. (Optional: Let the bundle sit overnight.) Snip the twine and unwrap your bundle, removing the dye stuff material and admire the magical results!
7. Wash your fabric with a pH neutral soap.
Post-dye Care
Bundle dyeing is a more ephemeral technique, so I suggest keeping your pieces out of direct sunlight, and washing as little as possible. Wait at least two weeks before washing your bundles in pH neutral soap. I use Seventh Generation Free + Clear. For hammered "hapa-zome" or ta-taki-zome pieces, peal off the plant matter and heat set with an iron for 2 minutes.